Introduction
When you watch a movie or TV show, what you see on screen and what you hear are often totally separate. The sound is created using many layers of sound effects to create the most convincing result.
In this course, you'll learn how to do sound design in Reaper. You'll take a promo for a sports drink and add dozens of sound effects to it to create a professional-sounding ad.
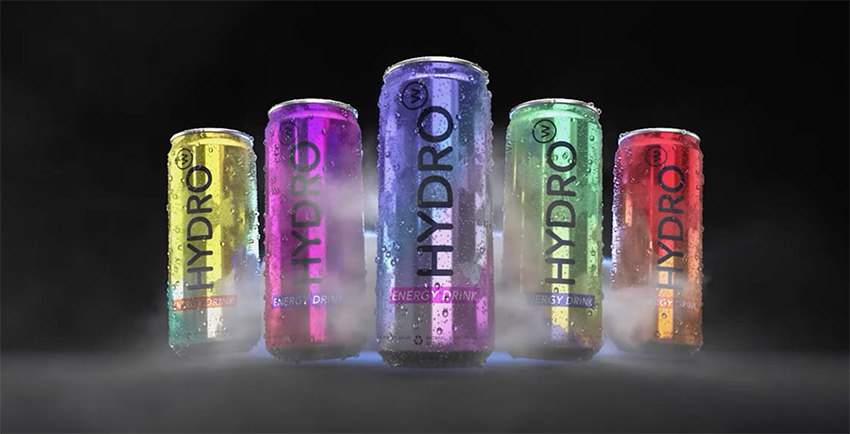
Hydrowater Ad
Watch the video to see a preview of the ad we'll be creating in this course, full of sound effects like squealing tires and rushing water.


What You’ll Learn
Here's what we'll cover in this course:
- how to set up the Reaper layout for sound design
- how to install the Color Palette extension to color-code and organize your projects
- how to import video
- how to do a quick music edit
- how to get the voiceover timed to the video
- how to layer many sound effects together to align perfectly with the video
- how to process the voiceover, mix the music, and balance the sound effects
And here are all the resources you'll need to follow along:
- SFX Collection
- Hydrowater Ad Collection
- Downloadable Course Files
- ReaPack
- SWS Extension
- FirComp (free compressor)
- TDR Limiter 6 GE
- VladG Limiter N°6 (free older version of Limiter 6)
- TDR Nova (free dynamic parallel EQ)
- SVS SB-2000 Pro (subwoofer)
Reaper for Beginners
If you're new to audio production or have never used Reaper, watch Dave's full Reaper tutorial to get started:


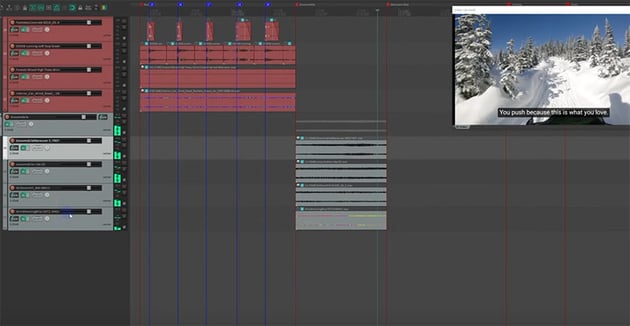
Reaper Layout & Color Palette
Let's start by setting up Reaper for sound design. I like to have the maximum amount of the screen available for editing, so I have things like the mixer docked to the side. This is how it looks:


I also like to use an extension called Color Palette, which allows me to color my tracks, as well as markers, regions, and other items within Reaper, to help me keep track of everything.


Let's install Color Palette now. Start by going to the ReaPack website to download and install ReaPack. When you've done that, open ReaPack and go to Extensions > ReaPack > Browse packages. Search for "Color Palette", and then right-click on it and choose Install.
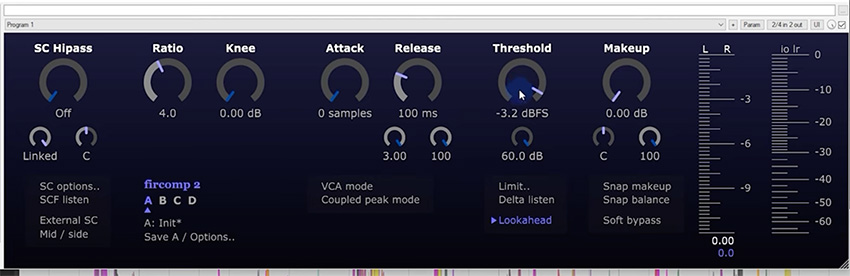
I also recommend installing a free compressor called FirComp and customizing your toolbars to keep things as clean as possible. Check out the recommended links in the previous section to see all the extensions and scripts I use.
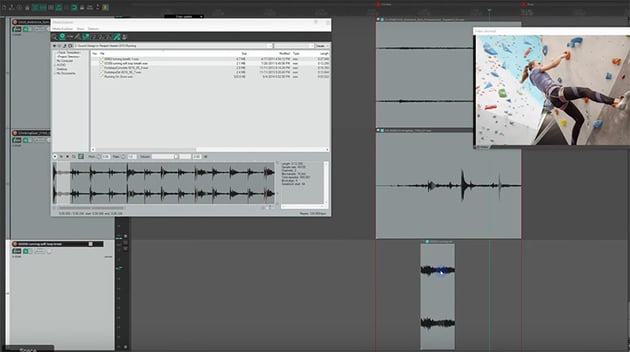
Importing Video
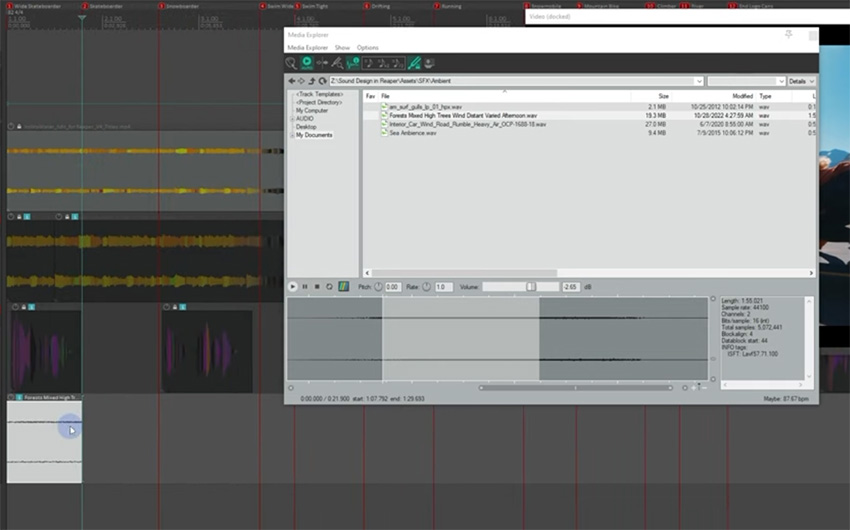
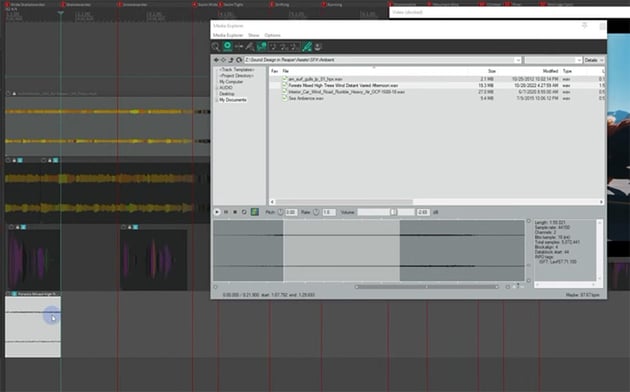
Now that we're all set up, let's import some video. You do that by going to View > Media Explorer and finding the Hydrowater video from the course files that you downloaded. When you've imported the file, you'll see it appear in the editor window.


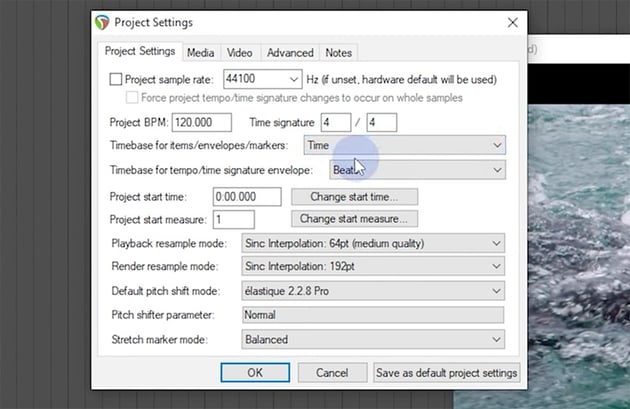
Next, we'll need to change the Project Settings to look like this:


You also want to jump to the Video tab and make sure the Frame Rate is set to the correct frame rate for your project.
I also recommend making the grid align to your frames, so you have one gridline for each frame of the video. You can do this by clicking on the grid icon in the toolbar to bring up the Snap/Grid Settings. Then set the Show grid, line spacing value to Frame.
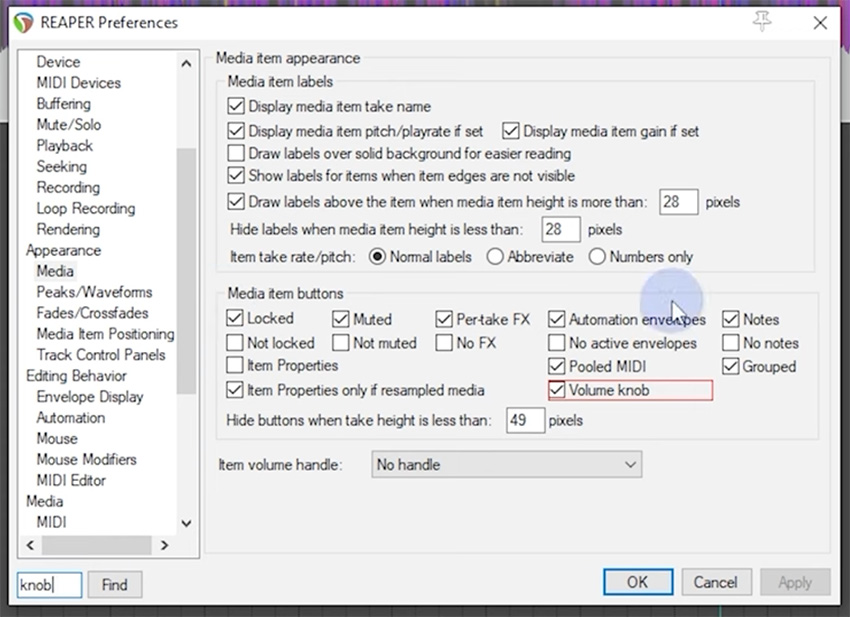
And one more useful setup item is to add a volume knob to each media item so you can change the volume quickly and easily. You can add that in Reaper Preferences:

Quick Music Edit
OK, now let's do a quick music edit. We'll start by importing our music track—I'm using the Epic Heroes in Hip Hop track from Envato Elements.
Then we can edit the music to get the effect we want and line it up to the key action in the video. I'll show you how to cut sections of the music, move them around, and fade out the music at the end.


When you've finished editing the music, make sure to lock it so that you don't inadvertently make changes when you're adding the voiceover and sound effects.
Voiceover
Now let's import our voiceover, get it set up with denoising, and align it to the video.
Often, voiceover artists and agencies will send over audio tracks that they've already processed, but in this video I'll show you how to do it yourself using an extension called ReaFir.
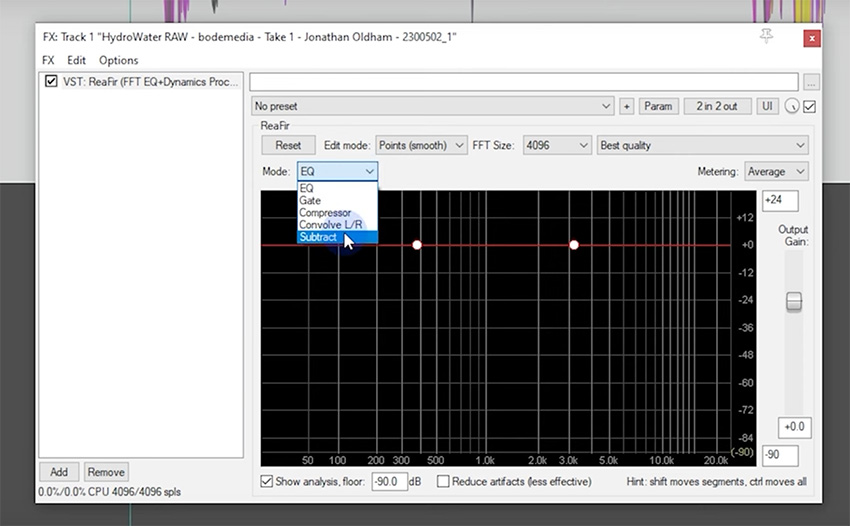
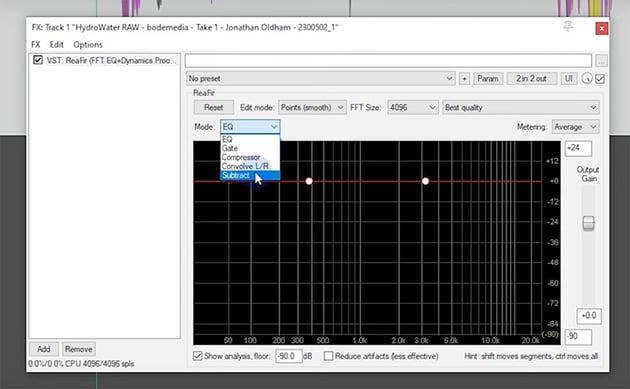

We'll normalize the track first, and then we'll use these settings:


That should give us a nice clean track with no background noise. Now we can align the voiceover to the video. This is just a case of playing the video and cutting and moving the voiceover so that each phrase lines up with a new shot in the video.


Adding SFX
OK, now let's start adding sound effects. First, I'll go through the video and press M to add a marker at the beginning of each shot. Then I can go to View > Region/Marker Manager to name them all quickly.


Now you can start adding sound effects for each shot.
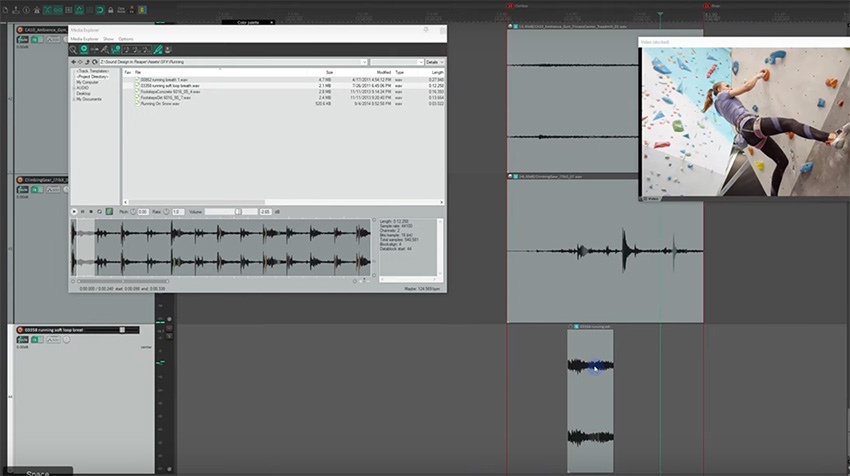
When you've downloaded all the effects, just choose an appropriate one for each scene. For example, for the first shot, the sound of wind would work well. Find the right effect in the Media Explorer, and then you can either drag the whole file into the timeline or make a selection and just drag in that section of the sound effect.

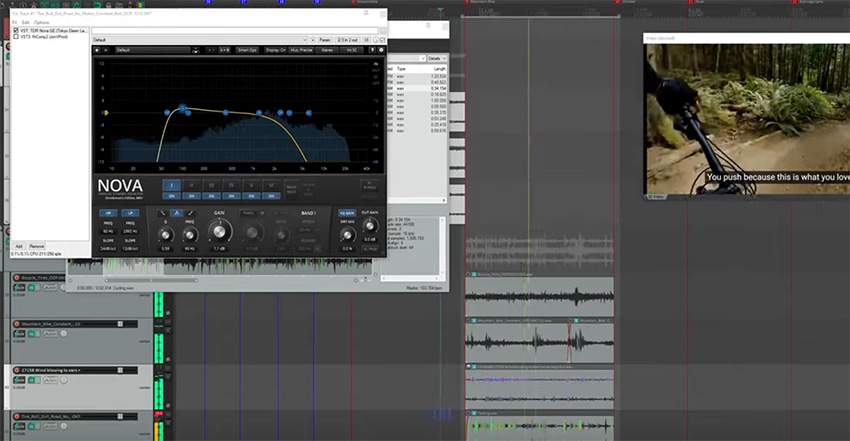
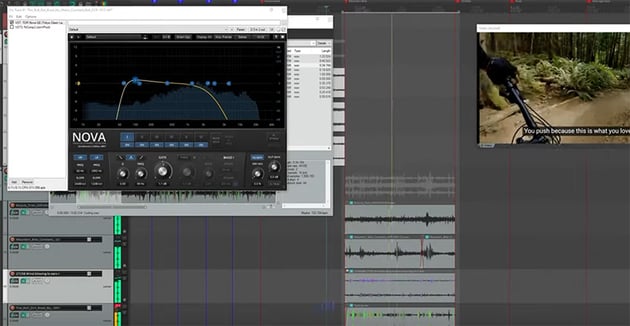
We can also use TDR Nova to adjust the EQ and do some fine-tuning.


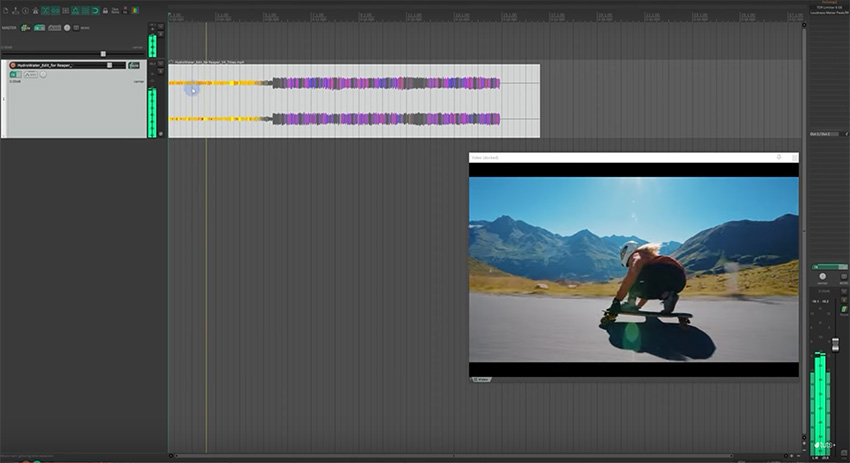
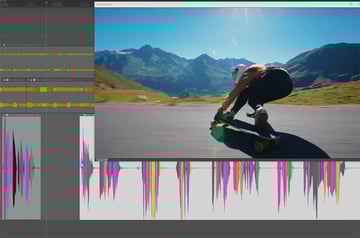
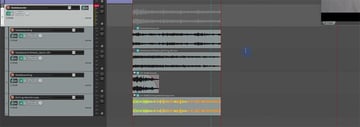
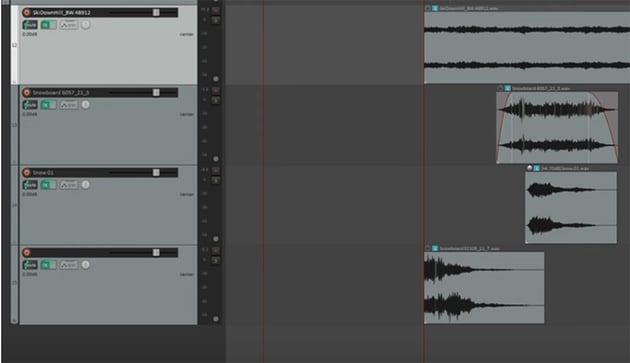
Sometimes, you'll want to use several sound effects layered together. For example, for a skateboarding clip, I've grouped four different effects (and two of them are actually rolling marbles!).
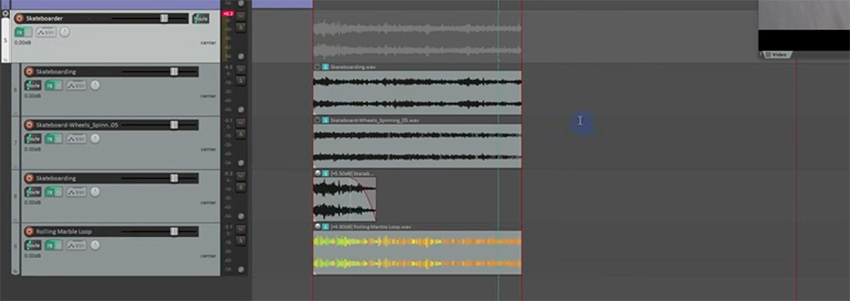

It's also a good idea to adjust the volume so that the effect fades out as the skateboarder moves away from the camera. This will make it sound more realistic.
Stitching SFX Together
For the next shot, we have a snowboarder zigzagging down a slope, so I want to stitch several sound effects together to create varied sound effects for each turn of the board.
We use a similar principle to the previous example, layering multiple sound effects together, but this time I'll make it so that they follow each other sequentially.


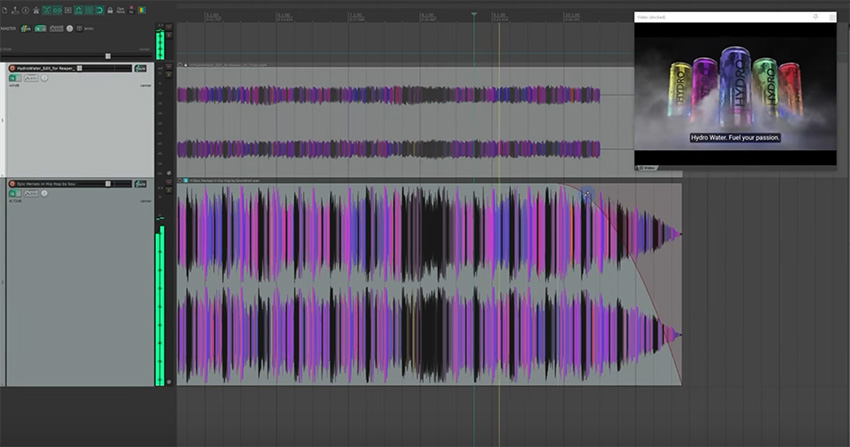
I'll also show you the full process of adding sound effects for the swimming clip. Watch the video to see how I work—including making mistakes and changing my mind! It should give you a good idea of how the editing process works.
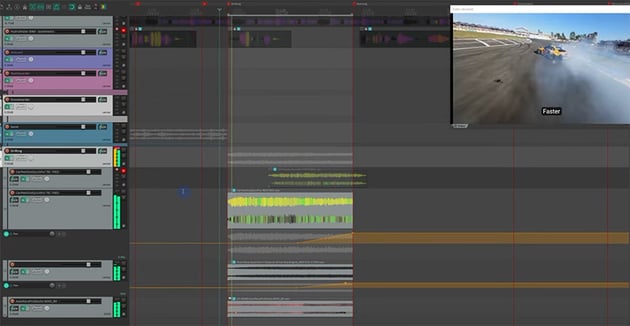
Drifting & Running SFX
Next up is our driving scene, so I'll show you how to add some engine sounds and squealing tires. Again, you'll see the whole process in the video, with each individual tweak that I make to combine the effects and get them sounding just right.

Our next shot, of a man running on a track, is a bit tricky because it's shot in slow motion, whereas sound effects obviously come at regular speed.
We can fix this by cutting out alternate footsteps in our audio track and then stitching it back together with a cross-fade. This little trick will let us stretch out the audio, so that then we can line up each footstep with the video.


Snowmobile & Mountain Bike SFX
We don't always need multiple sound effects. For the snowmobile clip, a single snowmobile sound effect could do the trick. But I'll also add some other snowy sound effects just to give it a little more depth.
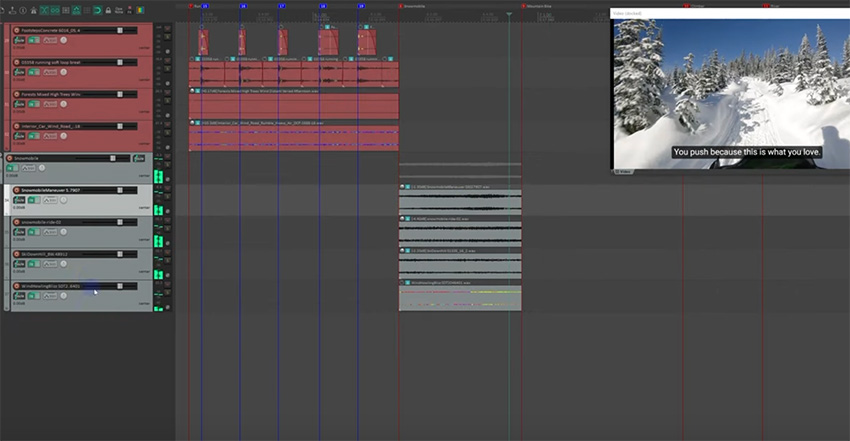

The mountain bike clip is a little more complex—we have the sound of the bike itself, and also the sound of the tires on the ground and some general nature sounds in the forest. So we'll layer several clips together and tweak the settings quite a lot. Watch the video to follow the whole process.

And sometimes you need a little creativity—our next clip of someone climbing a wall doesn't have much obvious sound associated with it. So I've taken an effect of some ambient gym noise and layered it with the clanking of a harness as the climber moves. And then I added a breath noise from the running clip we worked on earlier!

Our final clip is simple—it shows people crossing a fast-moving river, so a simple sound effect of rushing water is really all we need here. And then, when the Hydrowater cans appear at the end, a nice dramatic impact sound will round things out nicely.
Mixing & Processing
Now we have our video, music, voiceover, and sound effects finished. But the problem is that they're all loud right now, and if we play them all together, it won't sound good. So we need to mix and process to get everything properly balanced.
To set up sidechain compression, we first need to grab the Route button from the voiceover track and drag it over to the music track.
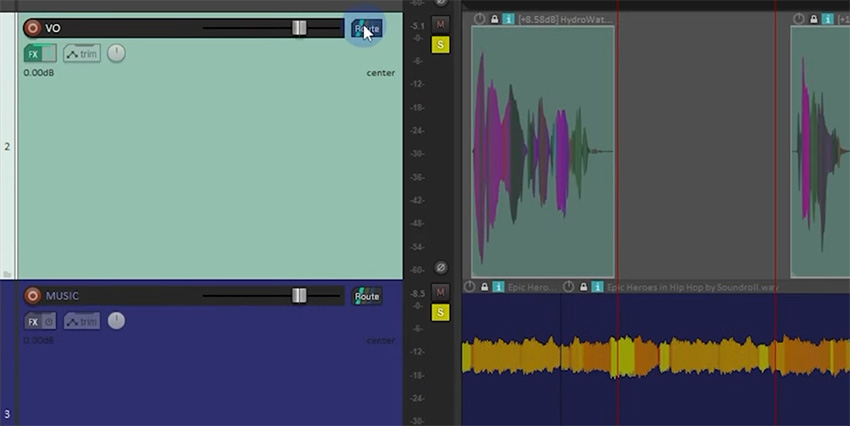


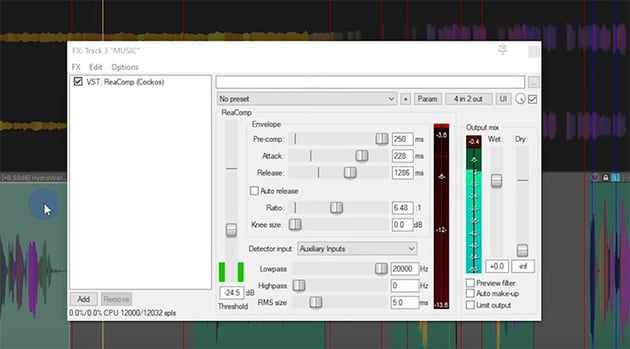
Then, in the window that pops up, change the controls for the voiceover track to be routed from channels 1/2 to channels 3/4. Then apply the ReaComp compressor with these settings.


You can also then manually change the volume of the music where necessary.
Next, we'll follow the same process for the sound effects: route the voiceover to the sound effects and use ReaComp to set up sidechain compression. The aim is for the sound effects to be quieter when the voiceover is louder.
Another technique you can use is to slightly alter the timing of the voiceover in a few places so that it doesn't compete with particularly loud sound effects like the swishing of the snowboard.
You'll also want to go through and apply manual adjustments to each item, boosting some and reducing others. For example, the sound of the runner was getting lost in the music, so I needed to make that louder. Mixing can be a detailed and time-consuming process, but it makes a huge difference to the end result.
And that's it for our course! If you followed along, you'll now have the skills to create immersive sound design projects of your own.
And why not learn more about audio editing in Reaper and other programs with these recommended courses: